Endpoints
The Endpoints page allows you to:
-
record your egress (outbound) and ingress (inbound) endpoints for sharing with the Hub
-
retrieve Hub endpoint information
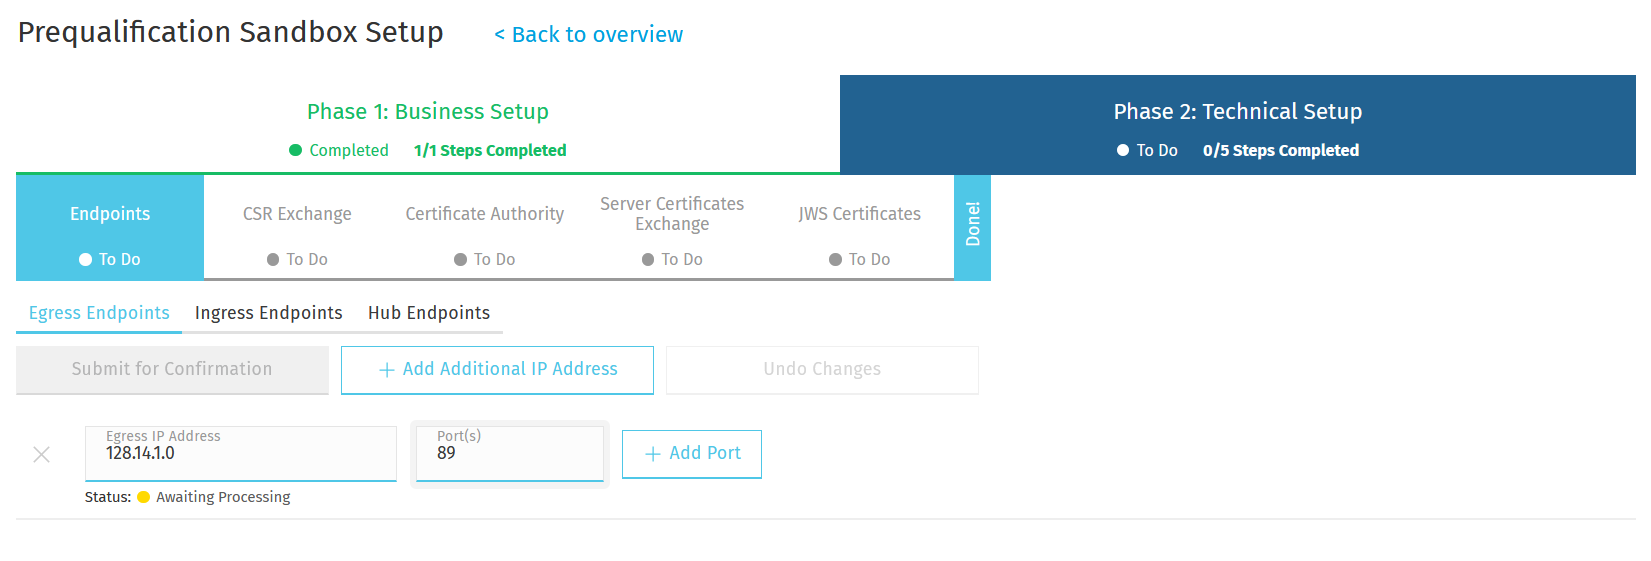
Egress Endpoints
Egress or outbound endpoints are the IP addresses from which the DFSP will initiate connections to the Hub.
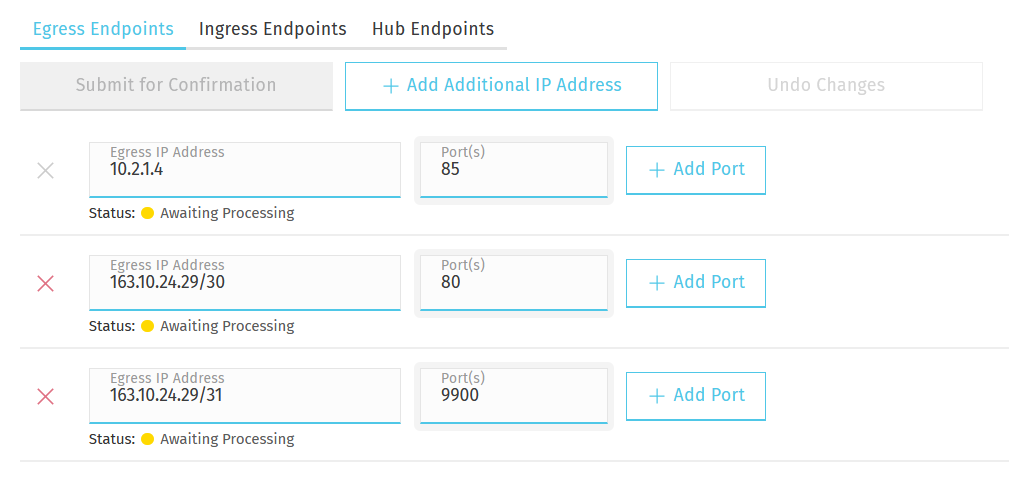
To configure egress (outbound) endpoints on the Egress Endpoints tab:
-
In the Egress IP Address field, enter the IP address from which you will make API calls to the Hub.
-
In the Port(s) field, you can specify a specific port or a range.
-
To add further ports, click the Add Port button. There is no limit on the number of ports that can be specified.
-
To add further IP addresses or hostnames, click the Add Additional IP Address button.
-
Once you are done entering your data, click Submit for Confirmation. This will send the data to the Hub for processing.
| If you do not click Submit for Confirmation and switch to another tab or page, the data you have entered will be lost. |
| If you wish to discard changes while entering data, click the Undo Changes button. |
The Status indicator tells you whether or not you have sent your data for processing to the Hub, and whether or not your data has been processed:
-
Not yet sent for processing (grey dot): You have not yet clicked Submit for Confirmation and not yet sent your endpoint data to the Hub.
-
Awaiting Processing (yellow dot): You have clicked Submit for Confirmation and sent your endpoint data to the Hub. The Hub has not yet processed your data.
-
Processed and Confirmed (green dot): You have clicked Submit for Confirmation and the Hub has processed your endpoint data.
Ingress Endpoints
Ingress or inbound endpoints are the DFSP callback IP addresses and URLs that the Hub will initiate connections to.
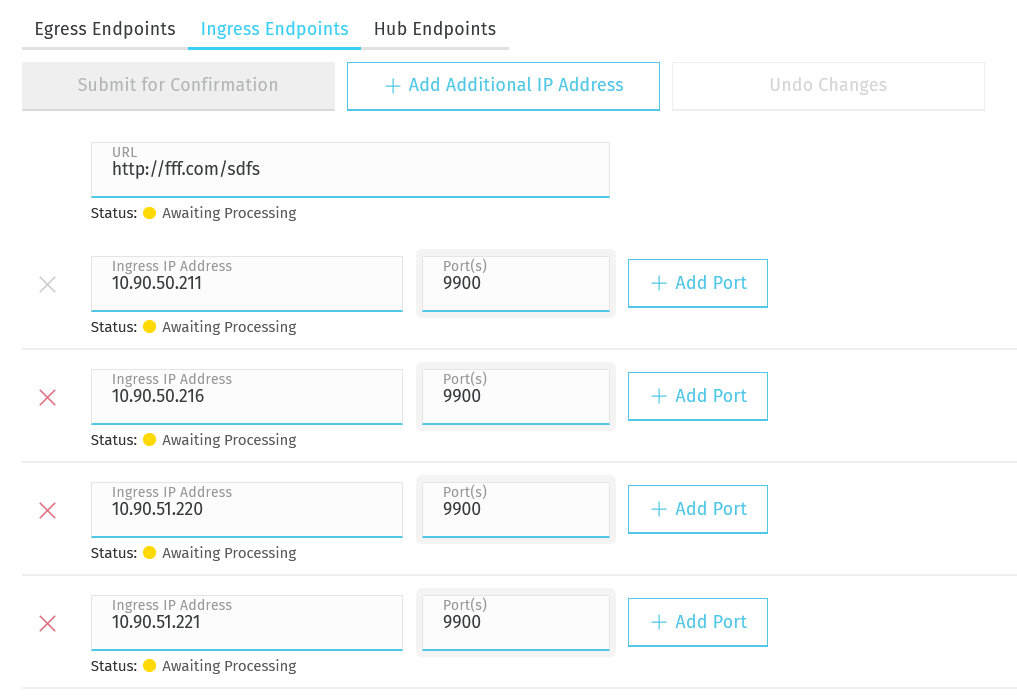
To configure inbound endpoints on the Ingress Endpoints tab:
-
In the URL field, enter the URL that the Hub will connect to in order to make API callbacks to you. You must provide a full URL with protocol information (
http://orhttps://) included. You can provide a port number and path information too. For example:https://inbound.dfsp.io:9876/example -
In the Ingress IP Address field, enter the IP address that the Hub will connect to in order to make API callbacks to you.
-
In the Port(s) field, you can specify a specific port or a range.
-
To add further ports, click the Add Port button. There is no limit on the number of ports that can be specified.
-
To add further IP addresses or hostnames, click the Add Additional IP Address button.
-
Once you are done entering your data, click Submit for Confirmation. This will send the data to the Hub for processing.
| If you do not click Submit for Confirmation and switch to another tab or page, the data you have entered will be lost. |
| If you wish to discard changes while entering data, click the Undo Changes button. |
The Status indicator tells you whether or not you have sent your data for processing to the Hub, and whether or not your data has been processed:
-
Not yet sent for processing (grey dot): You have not yet clicked Submit for Confirmation and not yet sent your endpoint data to the Hub.
-
Awaiting Processing (yellow dot): You have clicked Submit for Confirmation and sent your endpoint data to the Hub. The Hub has not yet processed your data.
-
Processed and Confirmed (green dot): You have clicked Submit for Confirmation and the Hub has processed your endpoint data.
