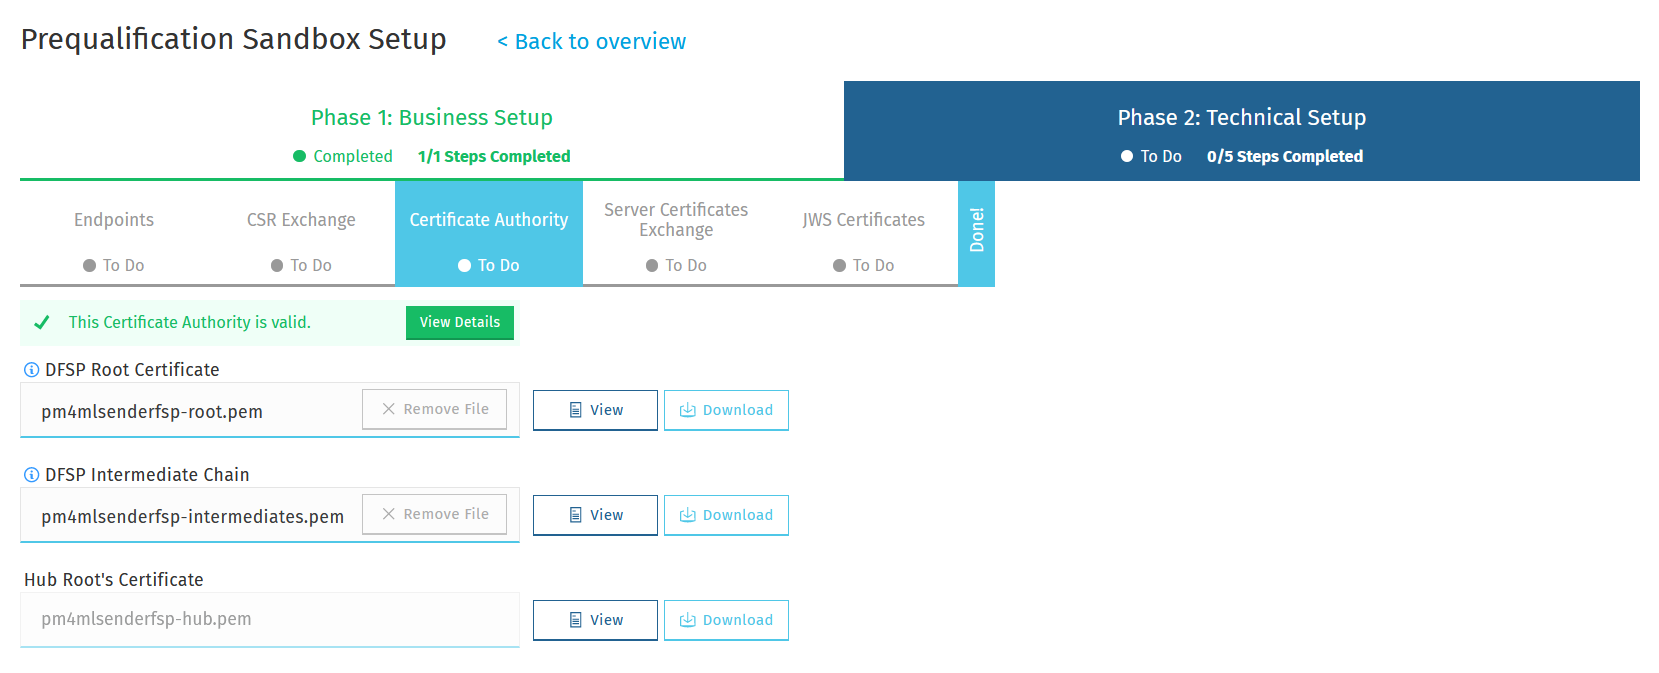
Certificate Authority
The Certificate Authority page allows you to:
-
record details of the Certificate Authority (CA) that you use to sign the Hub’s TLS client certificate
-
retrieve the root certificate of the Hub' CA for installing in your outbound gateway

DFSP CA certificates
The CA used to sign the Hub’s TLS client certificate can be your own self-signed CA or a trusted third-party CA. If you wish to use your own self-signed CA and you need help creating it, Appendix A: Create TLS certificates provides detailed information about the required steps:
| Some of the cross-references provided below take you to sections that talk about server certificates, and this might be confusing. The instructions in those sections are valid for all types of certificates. |
-
Create the root certificate by exporting it from the root key pair.
-
Create the intermediate certificate by exporting it from the intermediate key pair.
It is the exported certificate files that you will upload to Connection Wizard.
Connection Wizard uses the DFSP CA details added here to validate that the Hub TLS client certificate was signed by your CA.

Upload certificates
To record details of your CA, complete the following steps:
-
Upload the root certificate of your CA. In the DFSP Root Certificate field, click Choose File, and select the root certificate saved on your computer.
-
Upload the intermediate certificate of your CA. In the DFSP Intermediate Chain field, click Choose File, and select the intermediate certificate saved on your computer.
| On uploading a certificate, Connection Wizard renames the file so that the file name includes information about the name of the DFSP and the type of the certificate (root, intermediate, server). This means that you will see the original file name of your certificate change to a value assigned by Connection Wizard. |
| The intermediate chain must be presented as a single file. If your intermediate chain is made up of multiple files, combine them into one file in the following order: host certificate first, then the certificate that signs it, then the certificate that signs the previous certificate, and so on. Go from the most specific certificate to the least specific certificate, with each certificate verifying the previous one. |
On uploading the certificates, they are validated. To see validation rules or issues found during validation, click View Details. The following details are validated:
-
The root certificate is a root certificate indeed. It can be self-signed or signed by a global root.
-
The root and intermediate CA certificates must have the CA basic constraint extension (CA = true) and the keyCertSign key usage extension.
-
The intermediate chain is made up of valid CAs and the top of the chain is signed by the root.
Click View to view details of a certificate. Click Download to download a certificate for manually handing over to the Hub (if required).
Remove or replace a certificate
If you wish to remove or replace a certificate after it has been uploaded, complete the following steps:
-
Click Remove File next to the relevant field. This removes the certificate.
-
To add a new certificate in place of the one you removed in Step 1, upload the new certificate by clicking Choose File next to the relevant field and selecting the certificate file on your computer.
